FETCH_HEAD
> git submodule update --init --recursive
> ```
2. In the `libraries/AP_HAL_ChibiOS/hwdef` directory, create a new subdirectory for your customized board definitions. In this example, the directory will be named `OEM_CubeOrange` to create a derivative for that board.
3. Create a new `hwdef.dat` file in this format. In this case, our ready-to-fly plane will be using a CubeOrange autopilot and only requires a single line:
> ```
>
> include ../CubeOrange/hwdef.dat
> ```
4. The firmware name can be customized by adding one line to the `hwdef.dat` file.
> ```
>
> define AP_CUSTOM_FIRMWARE_STRING "MyMagicFrame"
> ```
>
> **说明**:
>
> Custom frame type strings can be created through Lua the scripting method `motors:set_frame_string("Custom frame name")`.
>
>
5. Now in that same directory, copy the base board's `hwdef-bl.dat` bootloader file, and then include a file named `defaults.parm`. This file will be the parameter overrides of the standard defaults to match your system's configuration. Things like output function assignments, auxiliary RC switches, flight and tuning parameters, etc.
**说明**:
a parameter can be made readonly (ie user cannot change its value) by marking it `@READONLY` in the file
**警告**:
The `defaults.parm` file should be as small as possible. Some boards only allow 1024 bytes total for this file. Every ASCII byte in the file counts against this limit (except for comment lines). Use integer values where possible. Below is a simple example. Serial port protocols,baud rate,and options defaults can be set directly in the hwdef, as well as NTF\_LED\_TYPES, and battery monitor defaults, and should be done there instead of a defaults file.
```
# setup for NTF LEDs on output5
SERVO5_FUNCTION 120
NTF_LED_TYPES 256
```
1. You can also embed **Lua scripts** in the ROM of the chip that will automatically run. Since Lua is currently only run on autopilots with a lot of flash space, they are only restricted in total aggregate size to available free flash memory. Put the scripts in a sub-directory called `scripts`, i.e. `libraries/AP_HAL_ChibiOS/hwdef/OEM_CubeOrange/scripts`. Files must end in `.lua`.
Alternatively, you can specify the LUA applet or driver at compile by using the "--embed-<filename> command, for example:
> ```
>
> ./waf plane --embed-LTE_modem
> ```
>
> **警告**:
>
> The user may also run Lua scripts off the SD card, so care should be taken in naming the embedded script file names to not conflict with potential user file names. It is recommended that the file names of embedded Lua scripts be provided in the product documentation for the user.
>
>
1. You can also embed small pieces of documentation in the ROM of the chip that are readable when examining the @ROMFS folder via MAVFtp. These can be pictures or small informational documents. These must fit within the free flash space of the autopilot. These files can be located in sub-directories in `libraries/AP_HAL_ChibiOS/hwdef/OEM_CubeOrange` (e.g. `libraries/AP_HAL_ChibiOS/hwdef/OEM_CubeOrange/AircraftManual`).
2. Now build as normal with OEM-CubeOrange as the board name in the configuration. The default parameters, Lua scripts, and the custom firmware name will be embedded appropriately.
## Alternative To Customizing hwdef.dat
Instead of creating a separate branch and modifying the hwdef file, you can also insert Lua scripts or even informational files into the ROMFS of the build. Simply go to the top level of your ArduPilot git checkout and create a sub-folder named "ROMFS\_custom" in the root of the source tree. Place your LUA scripts in a sub-folder in this directory, named "scripts" (i.e. the path `ardupilot/ROMFS_custom/scripts`). You can have other sub-folders for informational files and these will be included and viewable when examining the @ROMFS folder with MAVFtp.
\[copywiki destination="plane,copter,rover,sub,dev"\]
*【本页后半部分仍为英文原文摘录,补译中。】*
---
*译自 ArduPilot Copter「OEM Customization」· [查看原文](https://ardupilot.org/copter/docs/common-oem-customizations.html) · CC BY-SA 3.0*
# 仿真
**dev:模拟2**允许对实验代码和设置进行安全测试, 并且可以帮助您练习使用您的地面站而无需 离开你的办公桌。
**提示**:
坠毁模拟飞机比真正的坠毁便宜得多 这些!
大多数用户应该选择“循环”中的\*\*Software(SITL)模拟器\*\* 如果不必要,它可以模拟科普特、飞机或罗弗 用于任何机体硬件,并可在Linux,已经成为Windows和Mac OSX运行. 这也是最简单的模拟形式。
一些用户可能希望用他们的硬件在循环中"虚拟飞行". 在硬件上进行模拟是可能的
\[复制维基 你不会是"飞机 和工作人员"
*【本页后半部分仍为英文原文摘录,补译中。】*
---
*译自 ArduPilot Copter「Simulation」· [查看原文](https://ardupilot.org/copter/docs/common-simulation.html) · CC BY-SA 3.0*
# 用例与应用
## 使用大小写
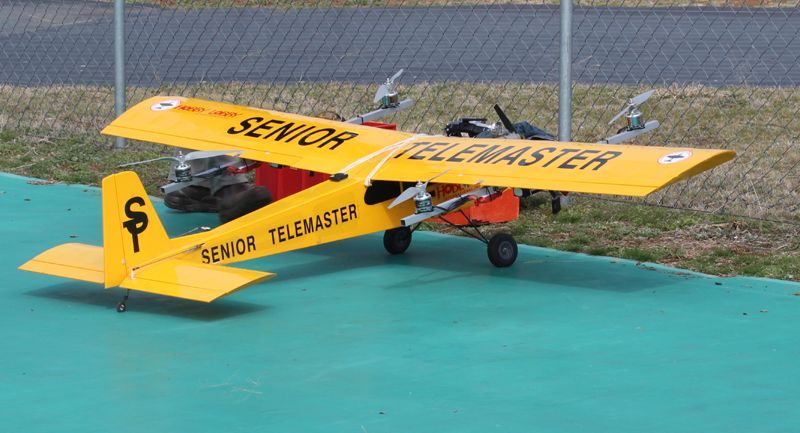
\[站点维基="飞机"\]. - VTOL搜索和救援
使之能够通过下列途径实现: \[站点维基="sub"\]. -潜水艇
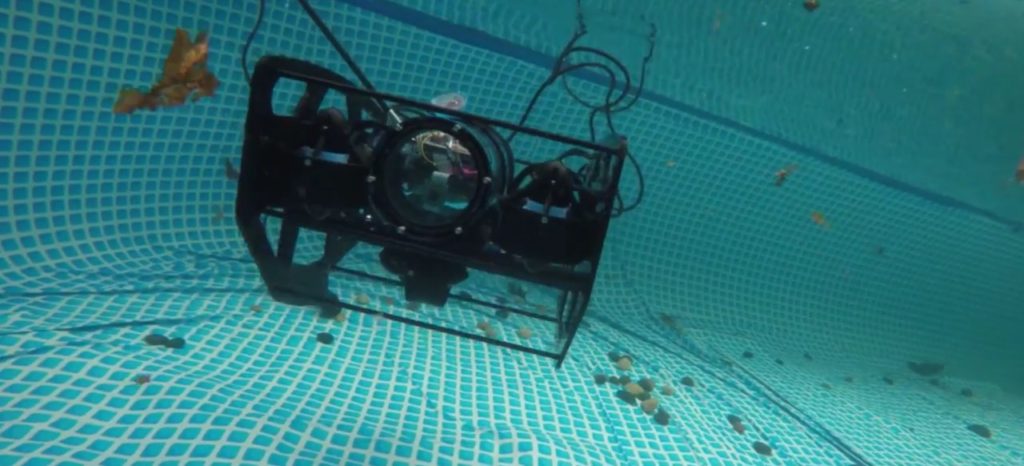- 观察和勘探
[https://youtu.be/T FMx7C5P 8 请检查isbn=值 (帮助).](https://youtu.be/T_FMx7C5P_8)
>
- 沉船发现和记录
[https://youtu.be/BV91zgzEFHs (中文(简体) ).](https://youtu.be/BV91zgzEFHs)
>
- 摄影和录像
[https://youtu.be/8IOn9yDXBLM (中文(简体) ).](https://youtu.be/8IOn9yDXBLM)
>
- Boat, equipment, and infrastructure inspection
[https://youtu.be/LCWA\_9RFQ24](https://youtu.be/LCWA_9RFQ24)
>
- Biological sampling and surveying
[https://youtu.be/t6J94qbZqKk](https://youtu.be/t6J94qbZqKk)
>
- Underwater retrieval
[https://youtu.be/\_tzUh62LPjA](https://youtu.be/_tzUh62LPjA)
>
- Academic and research projects
[https://youtu.be/X8CUwg6\_y7E](https://youtu.be/X8CUwg6_y7E)
>
- ROV and AUV competitions
\[/site\] \[site wiki="rover"\] - Bathymetry Boat
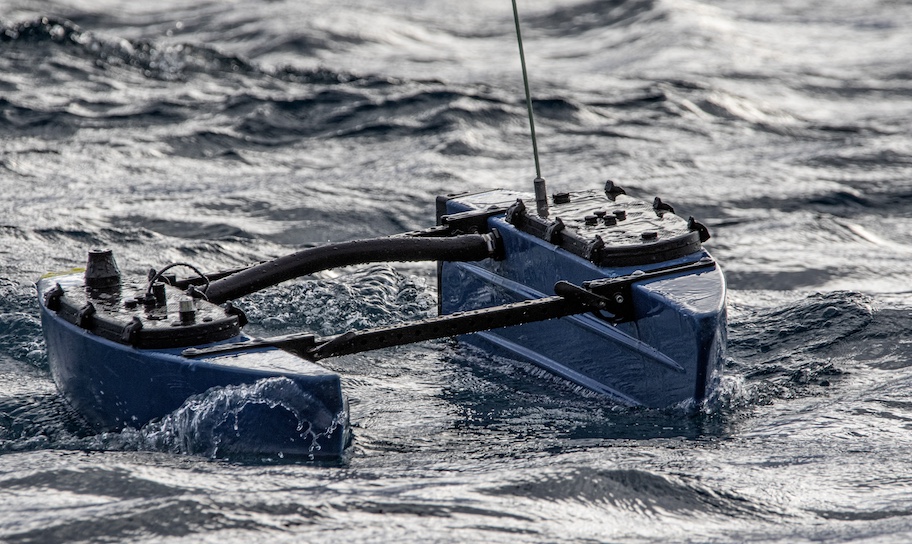[https://youtu.be/p24jFOGKxb8](https://youtu.be/p24jFOGKxb8)
>
- Autonomous Mowers and Tractors
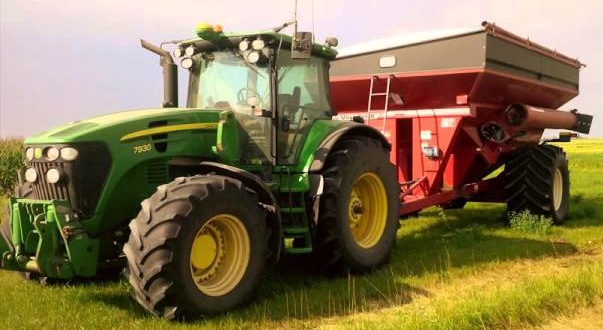\[/site\] - [Autonomous Vehicle Collision Avoidance](https://discuss.ardupilot.org/t/cmu-nrec-falco-drone-safe-flights-by-agile-collision-avoidance/83300)
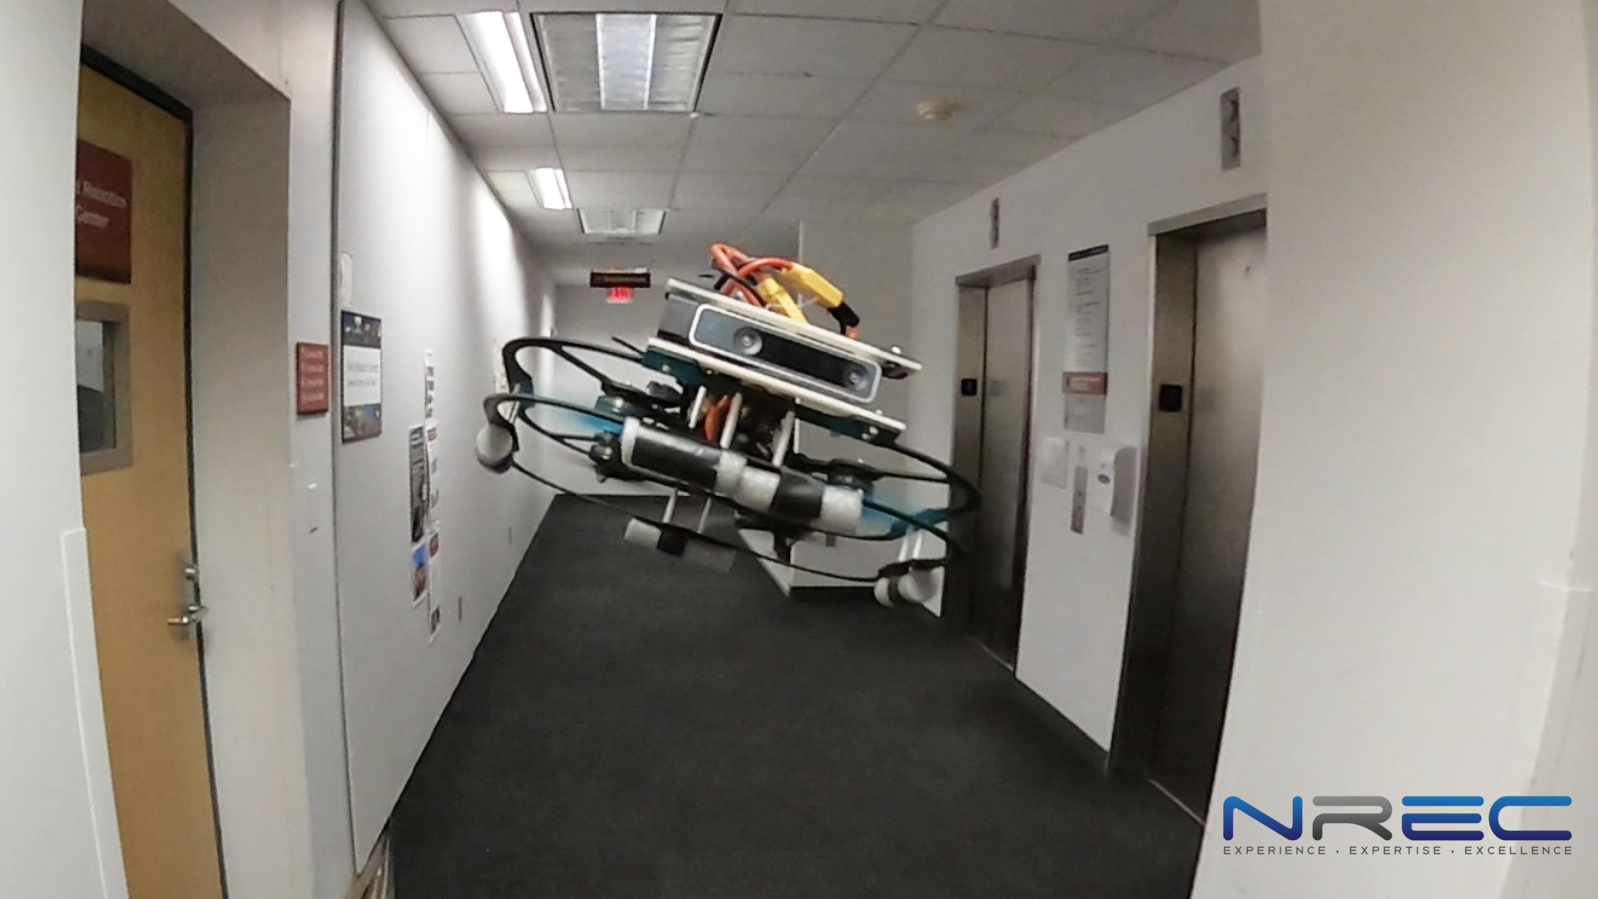[https://youtu.be/k6jKkpmj4-k](https://youtu.be/k6jKkpmj4-k)
>
\[site wiki="plane"\]
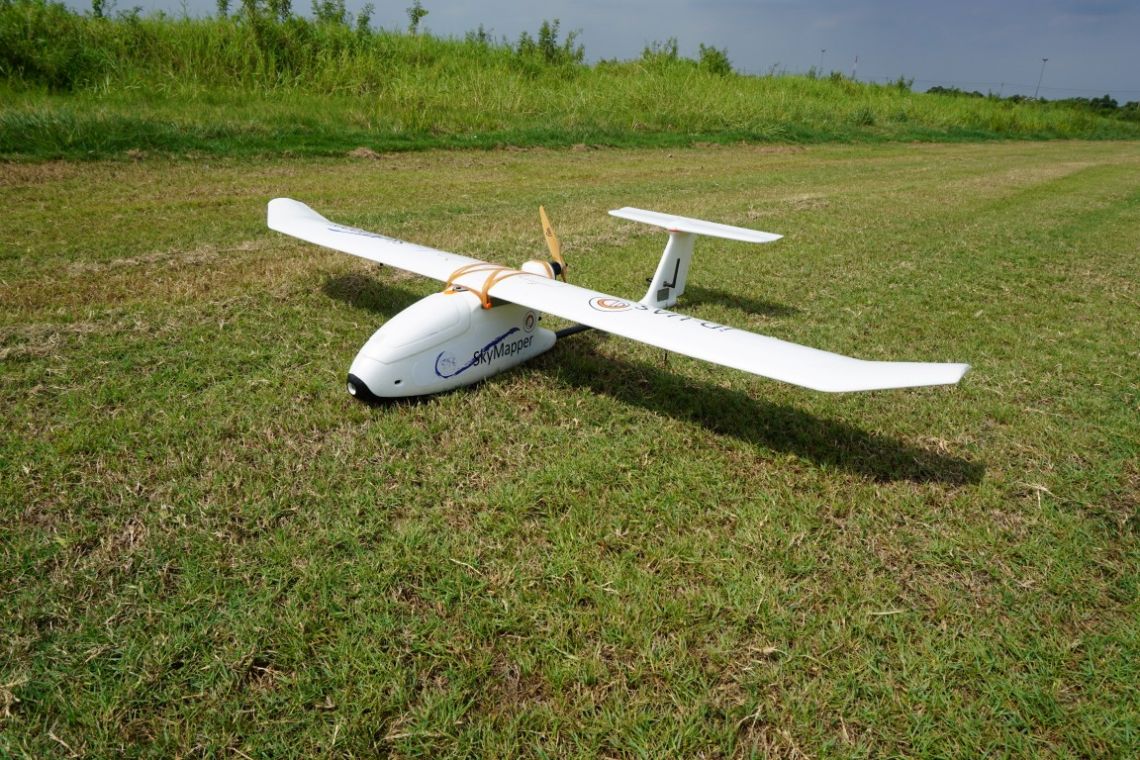- \[/site\]
- First Person View (FPV) <common-fpv-first-person-view> Non-GPS Positioning Systems <common-non-gps-navigation-landing-page>
- \[site wiki="copter,plane"\]
- Crop Spraying <common-sprayer>
\[/site\] \[site wiki="copter"\]
> Indoor Flying <indoor-flying>
\[/site\]
## Vehicle Types
ArduPilot can support many vehicles types: Planes, Multicopter, Helicopter, Rover, Subs, Boats, Blimps, Sailboats, VTOL Planes....and its even used on an orbiting satellite!
Its not only used for autonomous operation but as basic stabilization for pilot controlled vehicles.
See all the supported \*\*vehicle types and frames here \*\* \[site wiki="plane"\] Records =======
*【本页后半部分仍为英文原文摘录,补译中。】*
---
*译自 ArduPilot Copter「Use-Cases and Applications」· [查看原文](https://ardupilot.org/copter/docs/common-use-cases-and-applications.html) · CC BY-SA 3.0*
# SkyRocket
> [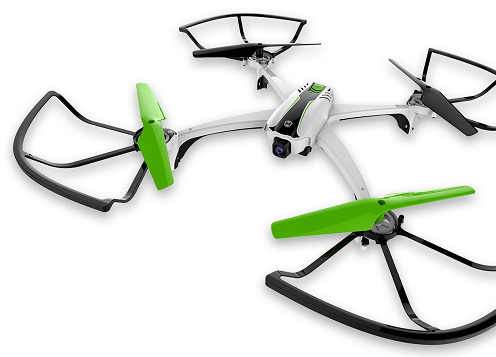](https://doc.yufeiaero.com/_images/skyrocket-skyvipergpsdrone.png)
一些SkyRocket无人机使用ArduPilot作为飞行控制软件. 本页面提供这些RTF无人机的高级用户和潜在开发者的详细信息.
## 哪里买?
**警告**:
SkyRocket从2021年底开始销售的巡回无人机没有得到支持 还还还还还还还还还还还还还还还还还还还还还还还还还还还还还还还还还还还还还还还还还还还还还还还还还还还还还还还还还还还还还还还还还还还还还还还还还还还还还还还还还还还还还还还还还还还还还还还还还还还还还还还还还还还还还还还还还还还还还还还还还还还还还还还还还还还还还还还还还还还还还还还还还还还还还还还还还还还还还还还还还还还还还还还还还还还还还还还还还还 如果我们还还还还还还还还还还还还还还还还还还 给你还还还还还还还还还还还还还还还还还还还还还还还还还还还还还还还还还还还还还还还还还还还还还还还还还还还还还还还还还还还还还还还还还还还还还还还还还还还还还还还还还还还还还还还还还还还和还还还还还还还还还还还还还还还还还还还还还还还还还还还还还还还还还还还还还还还还还和还还还还还还还还还还还还还还还还还还还还还还还还还还还还还还还还还还还还还还还还还还还还还还还还还还还还还还还还还还还还还还还还还还还还还还还还还还和还还还还还还还还和和和和和和和和和和和和和和和和和和和 如果我们和和和和和和和和和和和和和和或和和和 给你和和和和和和和和和和和和和和和和和和和和和和和和和和和和和和和和和和和和和和和和和和和和和和和和和或和和和还或和和和[此ArduPilot 论坛线索](https://discuss.ardupilot.org/t/is-the-sky-viper-journey-se-copter-transmitter-pair-user-upgradeable-to-ardupilot/79275).
**2017年型号**
该*天蛇 v2450GPS (英语). 带有自动驾驶和全球定位系统的无人机*正在通过销售[沃尔玛](https://www.walmart.com/ip/Sky-Viper-Streaming-Drone-with-GPS/797973157), [亚马逊](https://www.amazon.com/Sky-Viper-v2450GPS-Streaming-Autopilot/dp/B072HH13VQ/ref=lp_13203361011_1_6)以及2017年10月起在美国,澳大利亚,加拿大,智利,法国,德国,荷兰,立陶宛,墨西哥,新西兰,塞尔维亚,英国的Costco.
SkyRocket出售各种不同的无人机. 在2017年的型号中,只有V2450GPS流式无人机(将拥有白壳)能够运行ArduPilot.
**2018 models**
In August 2018, SkyRocket released three new ArduPilot powered drones, the Fury, Scout, and Journey. The Fury and Scout utilize "SurfaceScan", built on ArduPilot's OpticalFlow feature, to allow for indoor flight stability and position holding, unprecedented in this price range. The Journey, with GPS rather than OpticalFlow, takes lessons learned from the V2450GPS and builds on those for a solid re-release for the full GPS-enabled ArduPilot experience. The flight parameters and firmware for both the Scout and Journey can be easily modified as the user sees fit through the embedded wifi access point, powered by APWeb or using your favorite ground control software. Much of the information on this page, which was written for the V2450GPS, will at least partially apply to these new models, with updates annotated as they are discovered.
**2021 models**
The Journey is not sold anymore. Instead a Sky Viper Journey SE is shipped. Resellers might still have the Journey listed but have been observed to ship the Journey SE.
## Discussion
We have a [SkyViper section](https://discuss.ardupilot.org/c/arducopter/skyviper) on the ArduPilot discussion forum. Have a look there to see what people are up to and ask questions.
More developer specific information including how to compile the sonix and ardupilot firmware can be found on the [developer wiki](https://ardupilot.org/dev/docs/skyviper.html).
## Toy Mode
The Skyviper has Toy Mode set by default. Toy Mode handles the following functions, specific to the Sky Viper 2450GPS:
- Handles the button presses from the transmitter
- Magically trims the sticks when they're idle and the SV is disarmed
- Toggles the fence on and off depending on the situation
- Basically, if GPS is "good", the fence is armed, if GPS is "not good", the fence is disarmed (for obvious reasons)
- Toy Mode also handles moving you between ALT\_HOLD and LOITER automatically depending on GPS Status.
- Handles the LED bling (source: peterbarker)
- Toy Mode automatically adjusts the thrust based on voltage
- Toy Mode processes an arming script when armed using the throttle control to prevent sudden climbs (idles motors for a moment before increasing speed)
- Performs some automatic Compass tuning if needed
## Hardware
- STM32 CPU
- 5x serial ports
- 1x I2C
- 1x SPI
- ICM20789 IMU including 3-axis accelerometer, gyro and barometer
- Ublox M8 GPS
- 1S battery (4.2V max, replacement batteries are readily available on Amazon and other places)
- brushed motors; 8.5x20mm with a kV between 16,000 and 17,000 as measured.
- The small pinion is 13T and the larger one is 73T, which provides a gear ratio of approximately 5.6
- the camera can be manually adjusted to point forward, down or anywhere in between
- 2.4Ghz wifi for telemetry and video
- 145g
- flight time of about 11min
- top speed of between 8m/s ~ 10m/s
- video streaming uses a Sonix board with ARM CPU running FreeRTOS and OmniVision OV9732 chip
[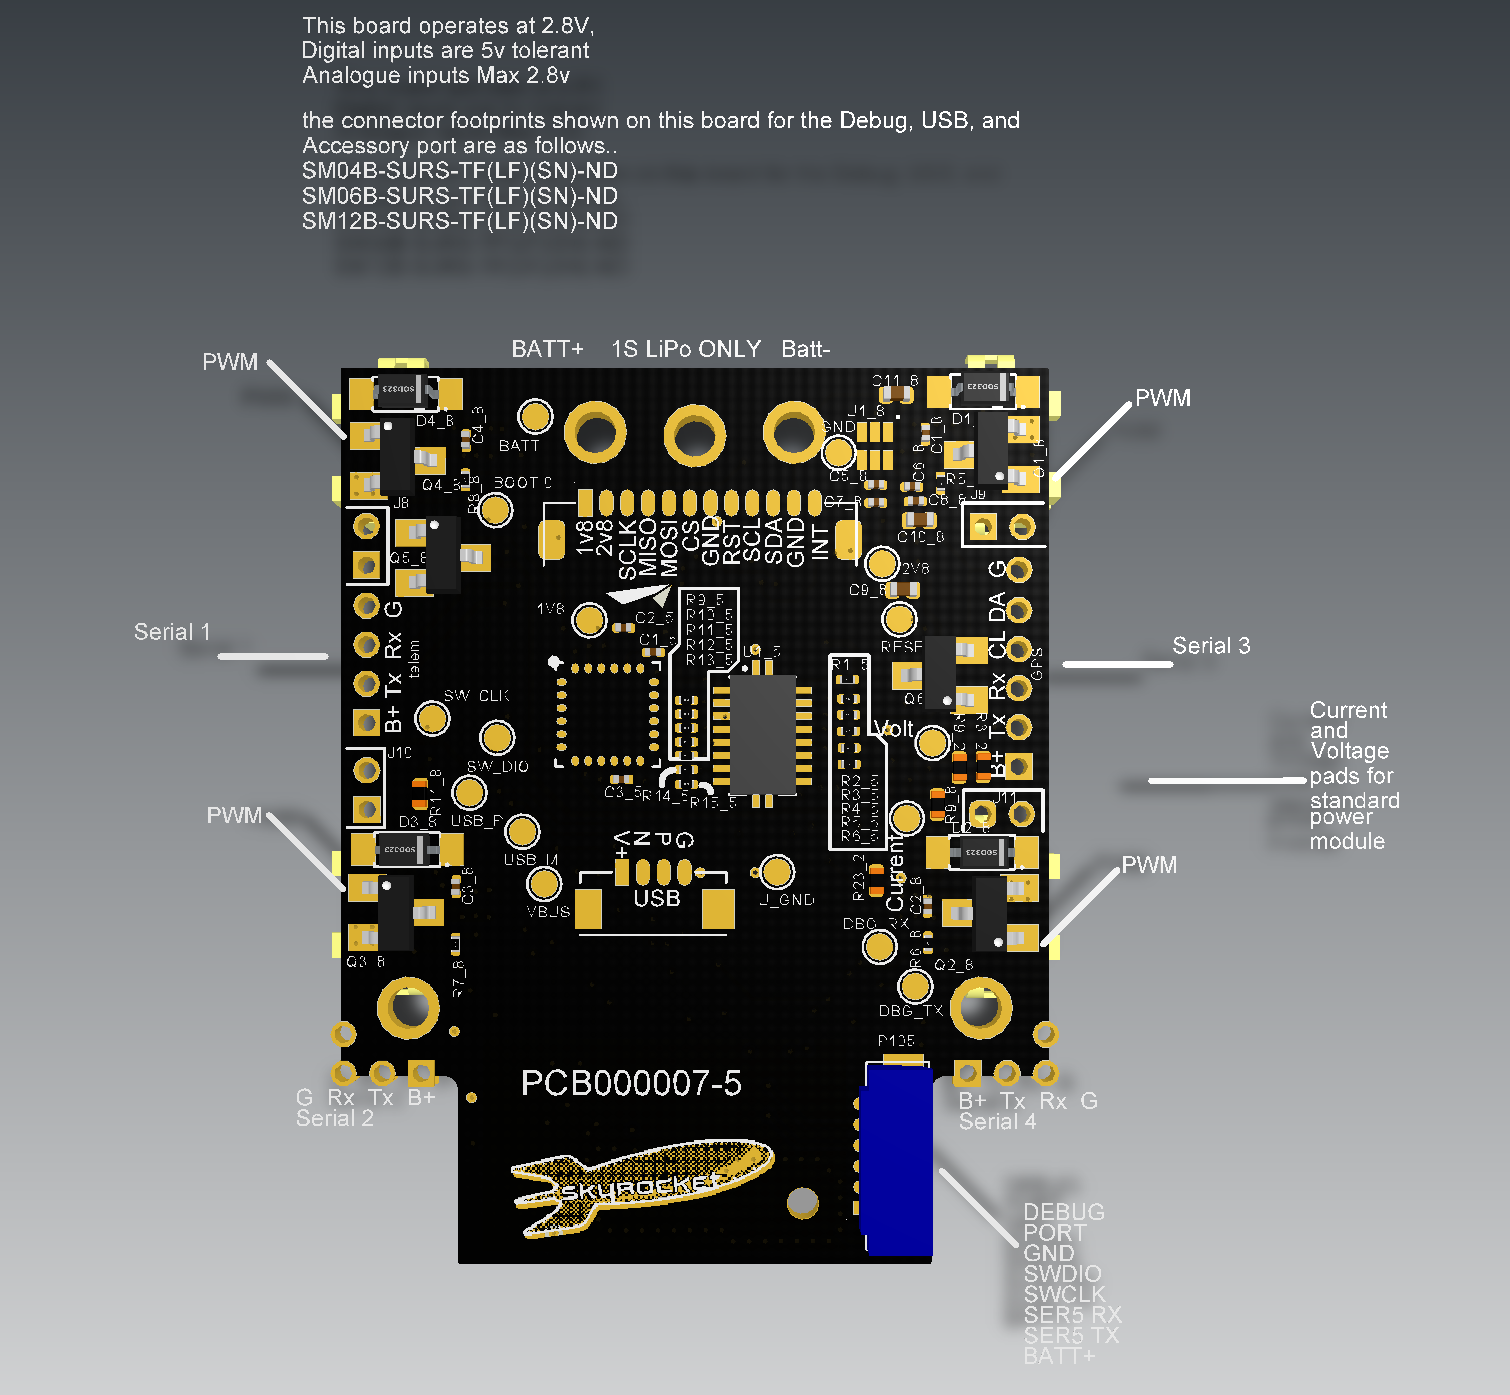](https://doc.yufeiaero.com/_images/skyrocket-flight-controller.png)[sUAS news](https://www.suasnews.com/) interview with Tridge and Matt (from SkyRocket):
[https://youtu.be/3RdEELDIeVs](https://youtu.be/3RdEELDIeVs)
>
## More Info
*【本页后半部分仍为英文原文摘录,补译中。】*
---
*译自 ArduPilot Copter「SkyRocket」· [查看原文](https://ardupilot.org/copter/docs/skyrocket.html) · CC BY-SA 3.0*
# Solo 软件升级
这篇文章详细介绍了ArduCopter版本3.5.0的升级和运行情况,以及更高的3DR Solo.
## 概览
3DR Solo包含的很多内容中包括一个Pixhawk 2.0自动驾驶. 它与早期的ArduCopter 3.3的高度定制分支一起,由3DR专门为Solo编译. 当你在新的索洛(或工厂重置后)上做飞行前初始更新时,更新的一部分是ArduCopter的这个索洛分支. 它安装在Pixhawk上,并拥有所有必要的默认参数和定制的烘烤到其中. 它在幕后对用户基本透明。 由于3DR不再从事消费UAS业务,ArduCopter的这个定制分支将不会看到任何进一步的更新. 最近一次更新是在2016年初,现在远远落后.
## 3D后的生活( 3D)
由于索洛号使用皮克斯霍克自动驾驶,除了3DR定制的索洛版本外,它还能运行ArduCopter的变体. 文章将专注于安装,配置,运行在3DR Solo上3.5.0或更高版本的ArduCopter. 为什么不让Solo成为现代、先进、能力强的SUAS? 自动驾驶固件有无数的进步 使它更稳定,更可靠,更敏捷 船模式,RTK GPS,增强遥测,ADS-B,lidar激光测高仪,地形意识和跟踪,IR精密着陆,甚至"室内GPS"等许多新的功能.
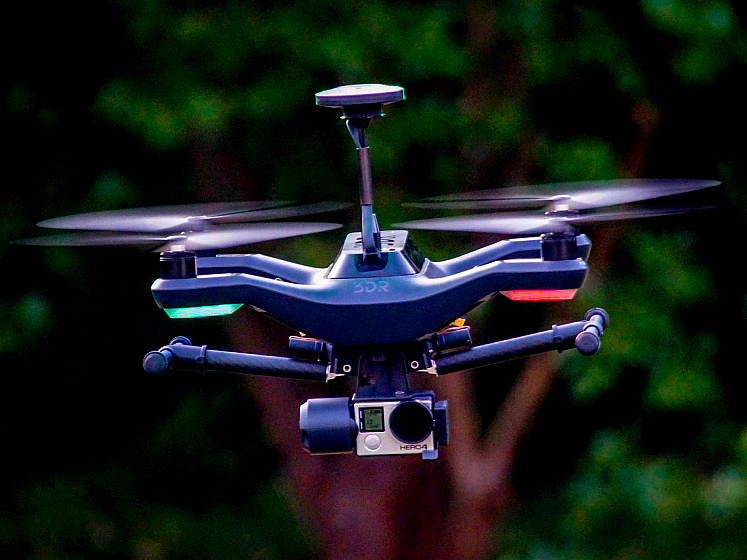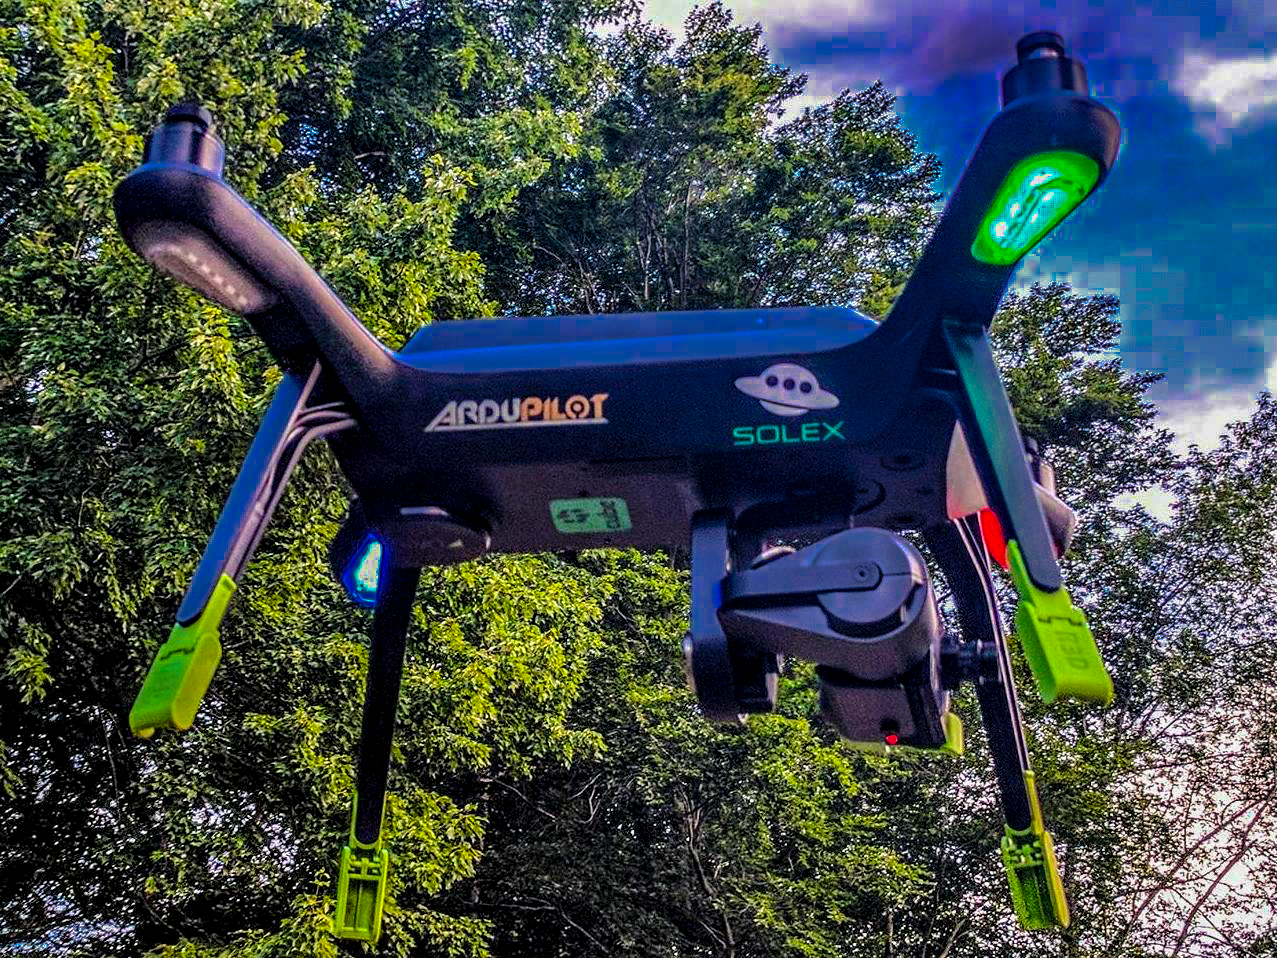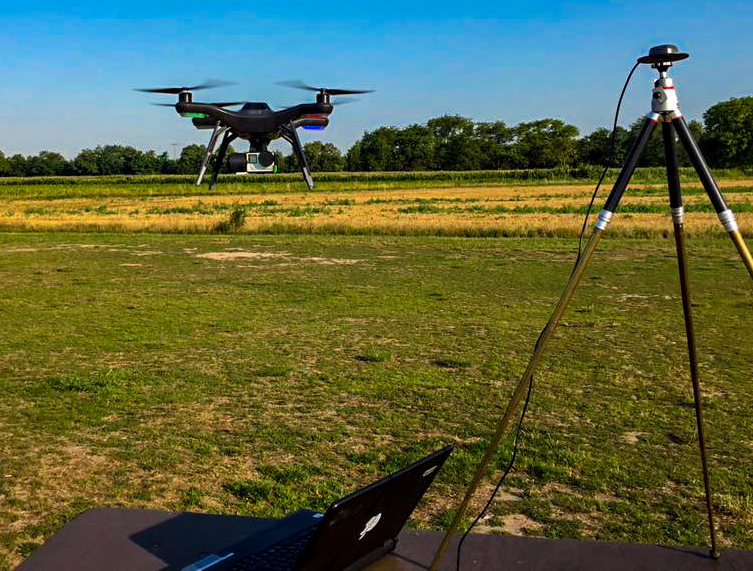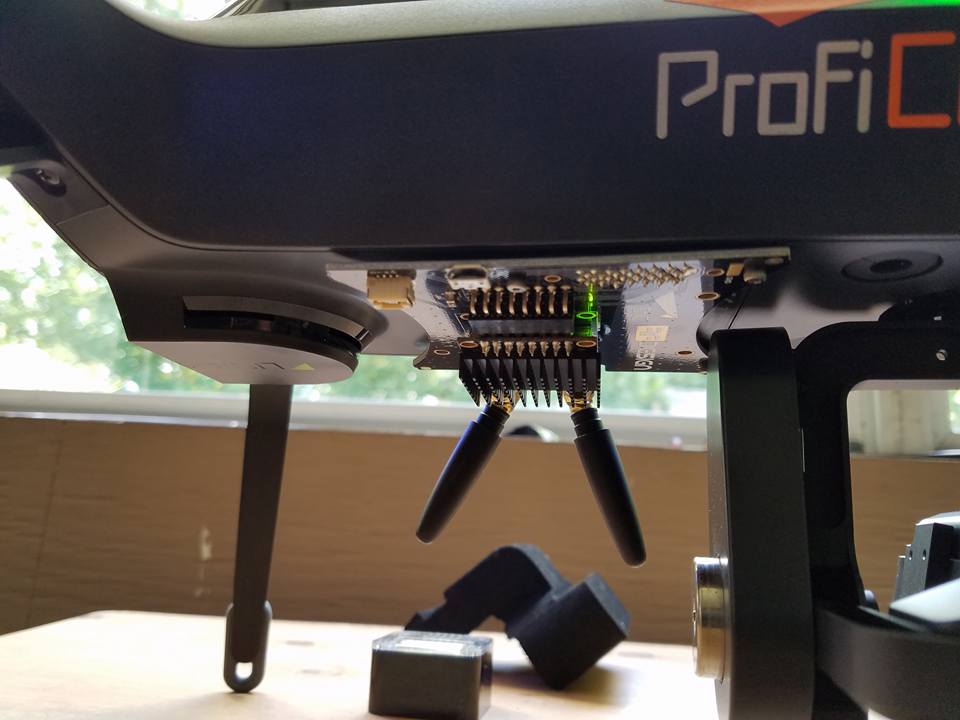*36 照片来自Andrew Emmett、Matt Lawrence、Stephan Schindewolf、及Paul Dinardi,*
## 硬件要求
Pixhawk 2.1 (CubePilot CubeGreen/CubeBlack) (或一种传统的几分钟内跳动设定为5伏特的Cube) 目前需要安全可靠地使用ArduCopter 3.5.0及更高的3DR Solo. 你可以从[无人机](http://www.jestersdrones.org/store/index.php?rt=product/category&path=68)或直接从[立方体助理软件](https://www.cubepilot.com). 立方体有显著较先进的组件. 这包括3个温度控制式IMU和5伏特信号机,Solo号需要安全运行. 如果你已经有一个立方体,可以设置一个内部的售货员跳跃器到5伏特信号,并用确实是在你的独奏中. 绿色立方体与这个跳跃器预设为5伏特.
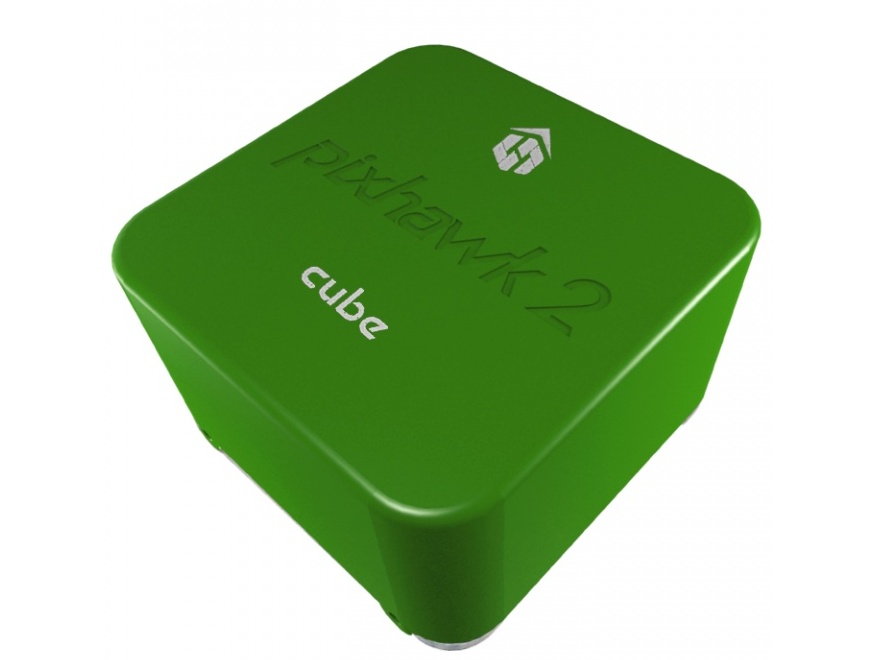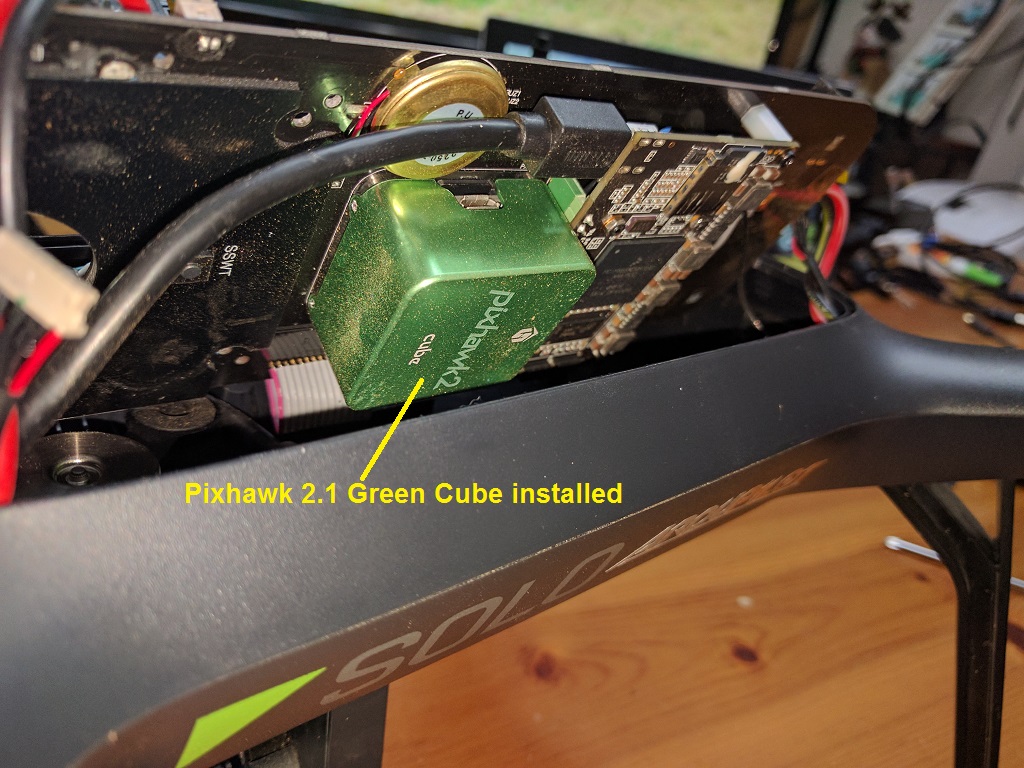You *can* install ArduCopter master on the stock Pixhawk 2.0, but it is highly discouraged. It will install, and it will fly. But you are at fairly high risk for motors shutting down in flight, leading to a serious crash. This is because of an electrical hardware flaw in the Solo's motor pods. The old stock firmware has a software patch to *mostly* mitigate this flaw. This is what you may hear referred to as "slew rate protection". You can view the code for the slew rate protection in the stock 3DR firmware [here on their GitHub site](https://github.com/3drobotics/ardupilot-solo/blob/master/libraries/AP_Motors/AP_MotorsMatrix.cpp#L388). The production versions of ArduCopter, including ArduCopter 3.5 do not have this slew rate protection. It is severely handicapping and difficult to manage for a world of vehicles that use ArduCopter besides the Solo. The 5 volt signalling used in the Pixhawk 2.1 (CubePilot CubeGreen/CubeBlack) effectively solves the electrical problem on the motor pods.
There are other potential ways to mitigate the electrical problem with the motor pods without buying a new Cube. You could use conventional DIY ESCs and bypass the ones built into the motor pods. Or you could build a level converter that steps the signalling voltage up from 3v to 5v. None of these solutions are commercially available as a kit, but can be done on a DIY basis if you are creative. You would not have the benefit of enhanced hardware in The Cube, but it would be just as safe and reliable to fly.
You cannot use the old stock 3DR Solo firmware on the Cube. It is entirely incompatible. This also means you cannot do a factory reset on the Solo with The Cube still in the Solo. The factory reset tries to reload the old Solo firmware, which is incompatible. If you need to Factory Reset, you will need to put the old stock Pixhawk 2.0 back in, run the full factory reset and update, then put the Green Cube back in. This is annoying, but there is no way around it now or in the foreseeable future. In short, do not need to factory reset. Which also means do not lose your WiFi password! Do not throw away your old stock cube!
## Resources
There are several great resources online for modification ideas,vendors, beta testing firmware, troubleshooting, and support
- [Solo Beta Test Facebook group](https://www.facebook.com/groups/617648671719759/)
- [Solo Mod Club Facebook group](https://www.facebook.com/groups/3DRSOLOModClub/)
- [Solex Users Facebook group](https://www.facebook.com/groups/176789056089526/)
- [ArduPilot Discuss Forums](https://discuss.ardupilot.org/c/arducopter/copter-3-5)
- [ArduPilot copter Wiki](https://ardupilot.org/copter/docs/common-advanced-configuration.html)
- [3DR Pilots Forum](https://3drpilots.com/)
- \*\*Solo Battery Calibration Process \*\*
## Upgrade Process
## Preparation
Before beginning the upgrade to ArduCopter 3.5 with the Pixhawk 2.1 (CubePilot CubeGreen/CubeBlack) on your Solo, you need to complete some important requisites.
- Complete Solo and controller in good working order, paired, flyable, and fully charged.
- Solo and controller both up to date with current 3DR Solo firmware from the initial pre-flight update. The current 3DR firmware is 2.4.2.
- Flight tested, working properly in all respects. An untested or malfunctioning Solo should not be used for this process. It won't fix it.
- Pixhawk 2.1 (CubePilot CubeGreen/CubeBlack)
- Philips and flat head screwdrivers
- Solex App for Android or a Windows PC for Mission Planner and WinSCP
## Instructions
There are two ways to do the upgrade that have detailed instructions published here.
- \*\*Initial installation using the Solex app \*\*. This is by far the most straight forward and highly recommended method. Solex has the means to load and reset firmware and parameters, and has access to all the necessary files online directly.
- \*\*Initial installation using Mission Planner and WinSCP \*\*. This method is a little more involved but is just as successful. You will need to download zip files, use Mission Planner to change settings, and use WinSCP to transfer files. If you do not have the Solex app, this is the method you will need to follow.
## FIRST FLIGHT
Once the upgrade process is complete, you're ready to make your first flight using ArduCopter 3.5 on the Solo. It is recommended that your first flight be conducted at a location and time that allows you to test some basic functions and safety systems. Choose a wide open are free of obstructions, crowds of people, lakes, etc.
## Solo/Solex App Settings
You will need to go through all the settings in the 3DR Solo App (and the Solex app if you use that too) to verify and update sliders, options, and settings. Hot items to set include in this sweep include but are certainly not limited to:
- RTH altitude
- RTH/RTM\* & Rewind
- Maximum altitude
- A/B Buttons
- Advanced Flight Modes
- Speed sliders
- GoPo settings
## Go Airborne
With all of the above complete, it is time to take your first flight on ArduCopter master!
- Take off and verify the Solo flies stable and predictably.
- Test all axes... pitch, roll, yaw, climbs, descends, and even all at once.
- Test the flight modes you have on the A & B buttons
- Make sure you are getting a good GPS lock
- Make sure the distance, altitude, speed, modes, and GPS data displayed on the app and controller are correct and as you expect to see.
- Let the battery run down to the failsafe while hovering safely nearby. Observe its behavior and verify it appropriately executed the RTH/RTM procedure.
**说明**:
If you need help troubleshooting a problem during with this process or have questions, the [Solo Beta Test Facebook group](https://www.facebook.com/groups/617648671719759/) is the best place to go.
## ArduCopter Parameters
There are over 700 parameters in ArduCopter. For everyday use of the Solo, you still do not need to worry about any of them. They're all pre-set for you in the above processes and by way of defaults. All the configuration parameters for the Solo that require a value different from the ArduCopter defaults can be found in the [ArduPilot GitHub repository /tools/frame\_params/ directory](https://github.com/ArduPilot/ardupilot/blob/master/Tools/Frame_params/Solo_AC35.param). These are the parameters that are loaded during the upgrade process. If you are not familiar with editing parameters and have no special use case to warrant changing them, altering them is not recommended.
However, there are some advanced and special use cases that may require changing some parameters. Some key parameters for advanced users are detailed below. This list will likely grow as new use cases and modifications develop.
| \*\*COMPASS\_ORIENT \*\* is the orientation of the external compass. |
|---|
| Value | Meaning |
|---|
| 38 | Stock compass in right rear leg |
| 0 | HERE External Compass |
| \*\*FS\_THR\_ENABLE \*\* controls how the Solo respond to a loss of signal from the controller. |
|---|
| Value | Meaning |
|---|
| 0 | No failsafe. This should not be used. |
| 1 | RTH/RTM will initiate if GPS available. If no GPS, Solo will land. |
| 2 | Continue with Smart Shot or auto mission. Otherwise RTH/RTM if GPS available. If no GPS, Solo will land. |
| 3 | Land only, no RTH/RTM. This is useful for indoor flying. |
| FS\_BATT\_ENABLE controls the low battery failsafe action for Copter-3.5 (and earlier). For Copter-3.6 (and higher) check the \*\*BATT\_FS\_LOW\_ACT \*\* parameter. The low battery failsafe kicks in when when the values set in parameters `FS_BATT_VOLTAGE` or `FS_BATT_MAH` are breached. |
|---|
| Value | Meaning |
|---|
| 0 | No failsafe action |
| 1 | Land immediately, no RTH/RTM. Useful for indoors. |
| 2 | RTH/RTM |
| FS\_BATT\_VOLTAGE is the low battery voltage threshold for Copter-3.5 (and earlier). For Copter-3.6 (and higher) check the \*\*BATT\_LOW\_VOLT \*\* parameter. When the battery voltage drops below this point, the low battery beeper sounds and it will do what you have `FS_BATT_ENABLE` set for. This value is expressed in volts. The default is 14.0. You can adjust this higher or lower depending on use case and preference. |
|---|
| Value | Meaning |
|---|
| 0 | No low voltage alarm or failsafe |
| 14 | 14 volts |
| FS\_BATT\_MAH is the battery capacity remaining threshold expressed in milliamperes (MAH) for Copter-3.5 (and earlier). For Copter-3.6 (and higher) check the \*\*BATT\_LOW\_MAH \*\* parameter. When the battery remaining capacity drops below this point, the low battery beeper sounds and it will do what you have `FS_BATT_ENABLE` set for. The default is 520. On the solo, that is on average about 1.5 minutes of flying time remaining. You can adjust this up or down to fit your preference and use case. Setting it for 0 will disable capacity remaining based alarms and failsafes. |
|---|
| Value | Meaning |
|---|
| 0 | No battery capacity remaining alarm or failsafe |
| 520 | 520 MAH |
| \*\*WP\_YAW\_BEHAVIOR \*\* specifies the yaw behavior in auto missions and RTH/RTM. |
|---|
| Value | Meaning |
|---|
| 0 | No change. The Solo's yaw will keep pointing in the same direction unless you change it. |
| 1 | Face the next waypoint regardless of direction of flight. |
| 2 | Face the next waypoint except in RTH/RTM. |
| 3 | Face forward along the GPS course. |
| **NTF\_OREO\_THEME** controls the Solo's motor pod LED theme. This is for ArduCopter 3.5.0 and higher only. |
|---|
| Value | Meaning |
|---|
| 0 | Disabled |
| 1 | Aircraft theme with red/green front and white strobes rear. |
| 2 | Rover theme with white front & red rear (like a stock Solo used to be). |
| \*\*AHRS\_GPS\_USE \*\* is for enabling or disabling the GPS on you Solo. The default is 1 for enabled. The primary use case for disabling the GPS is for indoor flight. If the GPS is disabled, it cannot and will not try to use it for flight, failsafes, or any other function. That means RTH mode is not available. You must be familiar with how the failsafes work without a GPS. In most cases, the Solo will land since it cannot RTH. |
|---|
| Value | Meaning |
|---|
| 0 | GPS disabled |
| 1 | GPS enabled |
| \*\*LOG\_DISARMED \*\* enables and disables dataflash (\*.bin) logging when the Solo is disarmed. It is currently enabled by default since it can be very useful for testing and troubleshooting. But it does result in large and often unnecessary logs. If you are comfortable and confident in your Solo, you disable logging while disarmed. The dataflash logs be much cleaner and volumnous. |
|---|
| Value | Meaning |
|---|
| 0 | Disabled / No dataflash logging while disarmed |
| 1 | Enabled / Dataflash logging while disarmed and armed. |
## Further Information
*【本页后半部分仍为英文原文摘录,补译中。】*
---
*译自 ArduPilot Copter「3DR Solo - ArduCopter Master Upgrade」· [查看原文](https://ardupilot.org/copter/docs/solo_arducopter_upgrade.html) · CC BY-SA 3.0*